
Step-by-Step Guide to Prepping Your Kitchen Cabinets for a Respray
Step-by-Step Guide to Prepping Your Kitchen Cabinets for a Respray
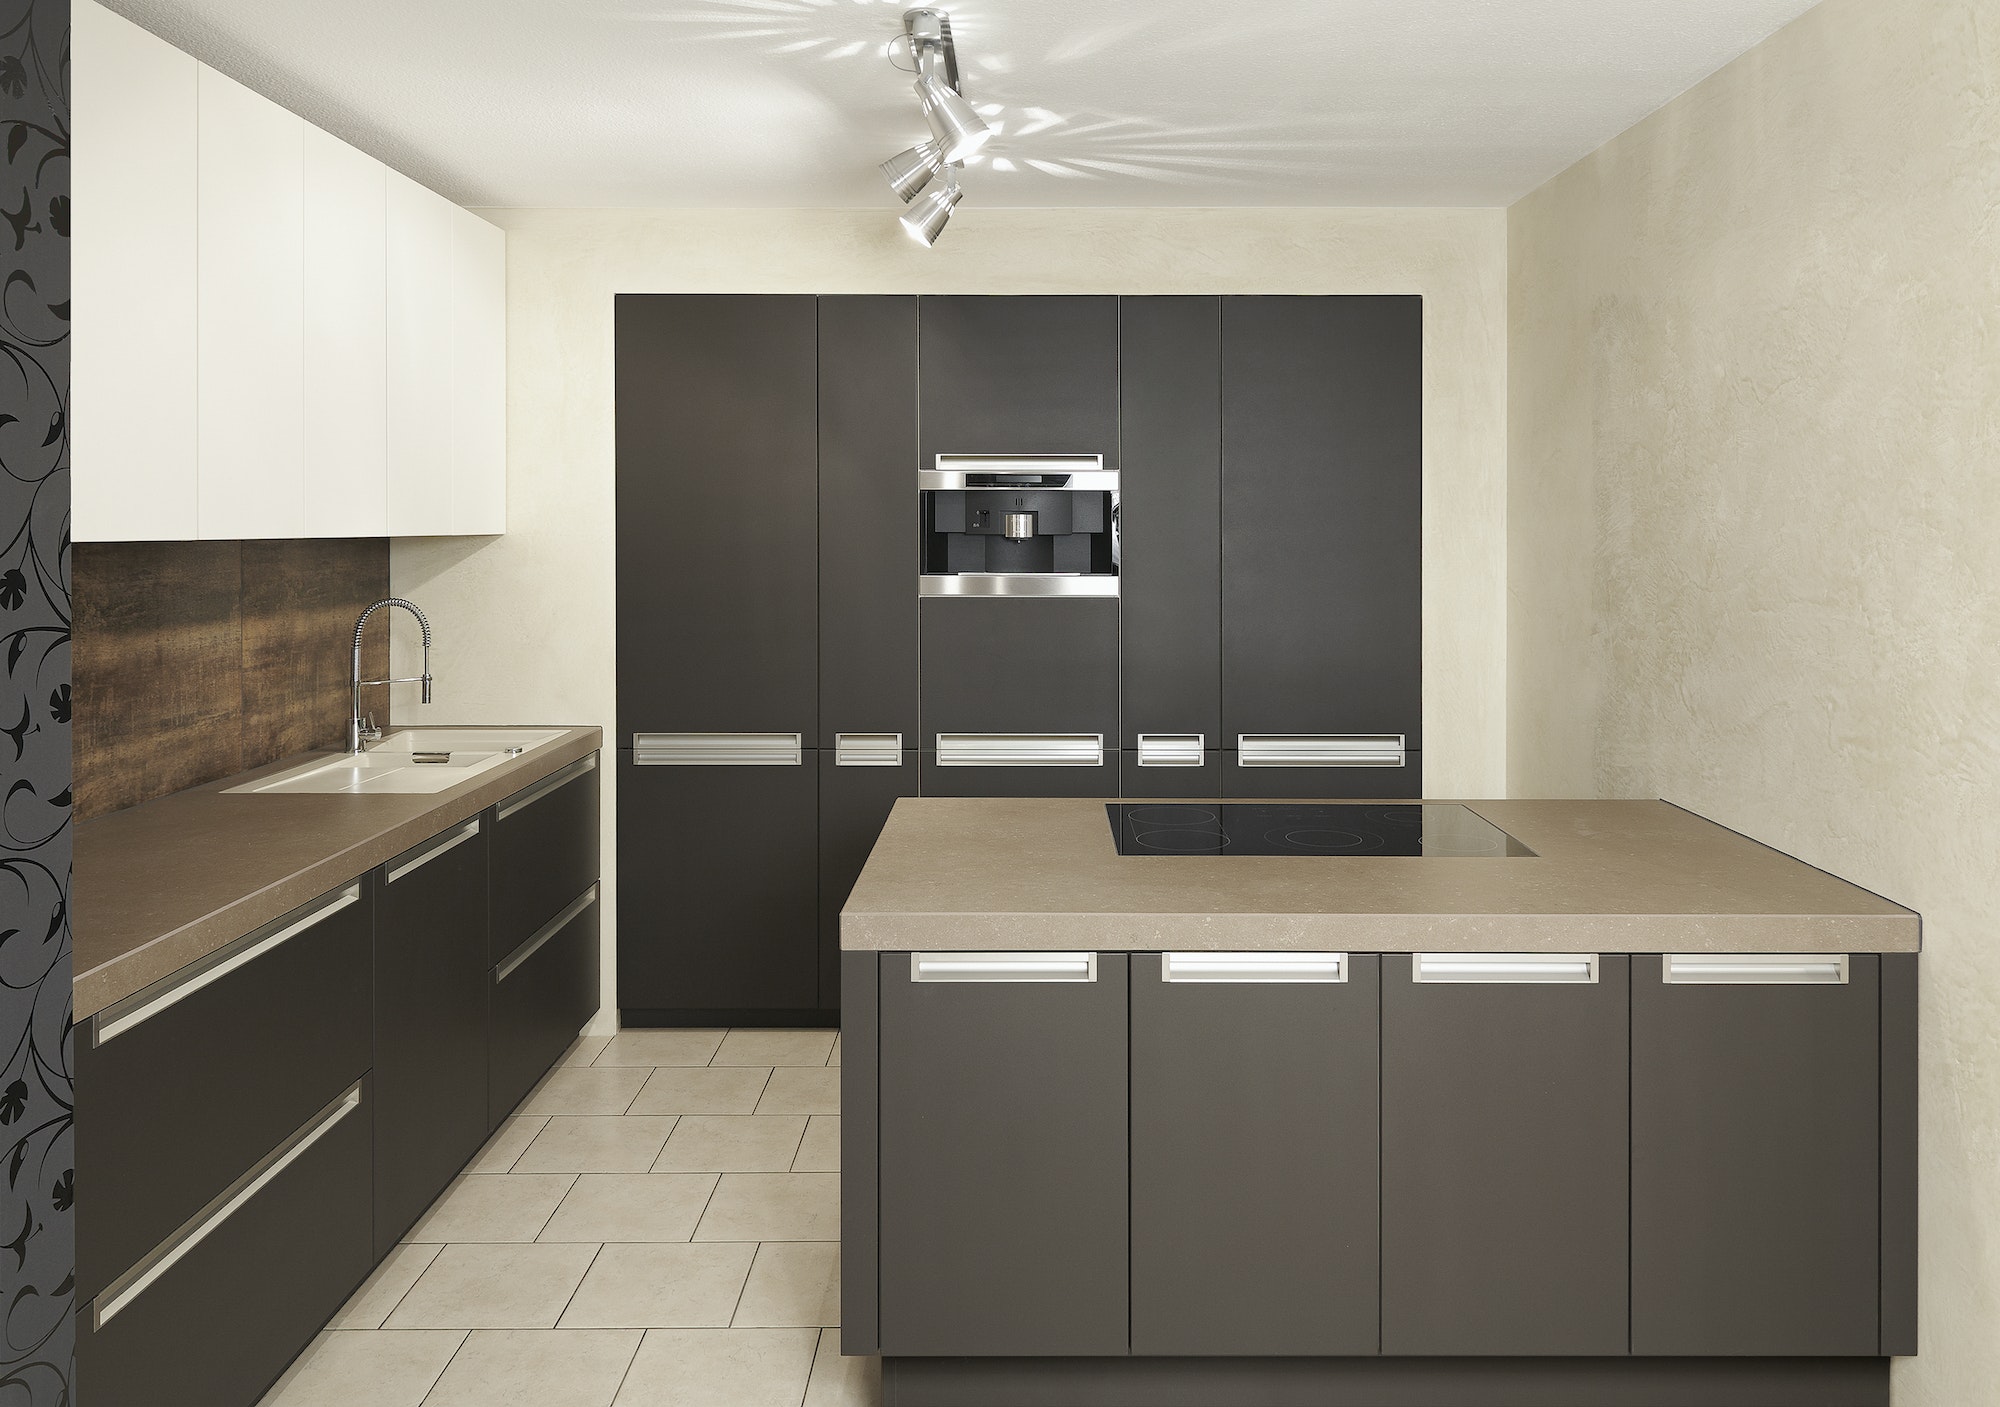
The heart of any home, the kitchen is more than just a place to cook meals—it’s where we share stories, laugh together, and create lasting memories. One significant feature that ties this magical space together is the kitchen cabinets. Over time, they can show signs of wear and tear, losing their lustre. However, rather than replacing them, a cost-effective solution is to respray them. This article will guide you step-by-step in preparing your kitchen cabinets for a respray. Let’s dive in!
Understanding the Respray Process
Before we delve into the process of kitchen cabinet prep, it’s crucial to understand what respraying involves. Essentially, kitchen cabinet respraying is the process of applying a new coat of paint using a spray system. This technique offers an even, flawless finish that traditional painting methods can’t replicate, bringing your cabinets back to their off-the-shelf glory.
The Importance of Preparation
Just like any other painting task, preparation is key in the respray process. Without proper prep, the paint may not adhere correctly, leading to unsightly imperfections. However, with the right techniques and a little patience, you can prepare your cabinets for respraying like a pro!
Step 1: Gather Your Materials
You’ll need the following items for your respray preparation:
Cleaning solution (such as sugar soap)
Sandpaper (120-grit and 220-grit)
A handheld sander (optional but handy)
Tack cloth or damp rag
Masking tape
Drop cloths or newspapers
Step 2: Cleaning Your Kitchen Cabinets
The first step in your kitchen cabinet prep is cleaning. Remove all grease, grime, and dirt using a robust cleaning solution. Pay close attention to areas around handles or knobs where oil and dirt accumulate. Rinse with clean water and let them dry completely.
Step 3: Sanding
Sanding helps to ‘rough up’ the surface, creating a texture that paint can adhere to better. Start with 120-grit sandpaper to remove the old finish, then smooth out the surface with 220-grit. If you have a handheld sander, this process will be faster and more efficient. Remember to sand lightly to avoid damaging the wood.
Step 4: Cleaning Post-Sanding
After sanding, there will be dust particles on the surface of the cabinets. Use a tack cloth or a damp rag to wipe down the surfaces. Make sure all dust particles are removed—any remnants can affect your final finish.
Step 5: Masking
Use masking tape to cover any areas that you don’t want to paint, such as hinges and hardware. It’s also wise to protect your kitchen surfaces and floor with drop cloths or newspapers to prevent any accidental overspray.
Step 6: Final Inspection
Before you start the spray painting process, do a final check. Ensure all surfaces are clean, smooth, and dust-free. Check your masking job and make sure everything that needs to be covered is well protected.
The Art of the Respray
Now that your kitchen cabinets are prepped and ready, you can embark on the journey of respraying. The Art of Kitchen Cabinet Respray is an intricate process that requires a keen eye and a steady hand. When done correctly, it can transform your kitchen, providing a fresh, new look while preserving the charm and history of your cabinetry.
Additional Tips for a Successful Respray
While the steps above cover the essential respray preparation, here are a few extra tips to ensure a seamless respray experience:
Invest in high-quality spray paint: While it may be tempting to go for cheaper options, high-quality spray paint can offer a more professional and durable finish.
Practice your technique: If you’re new to spray painting, it can be helpful to practice your technique on a scrap piece of wood first. This can help you get comfortable with the spray gun and understand how to achieve an even coat.
Multiple thin coats are better than one thick coat: Apply the paint in thin, even layers. This can prevent drips and runs and create a smoother finish.
Wrapping It Up
Respraying your kitchen cabinets is a cost-effective way to breathe new life into your kitchen. By following this step-by-step guide, you can ensure your kitchen cabinet prep is thorough, setting you up for a successful respray. Remember, the result lies in the preparation!
Want to Learn More?
If you are interested in further delving into the process or looking for professional advice, don’t hesitate to explore our comprehensive guide on The Art of Kitchen Cabinet Respray. It’s filled with a wealth of knowledge that will help you master your kitchen makeover!
Frequently Asked Questions
1. Why is it important to clean the kitchen cabinets before respraying?
Cleaning your kitchen cabinets removes any grease, grime, and dirt that may interfere with paint adhesion. It’s especially important to focus on areas around handles or knobs, where oil and dirt are prone to build up. A clean surface ensures a smoother application and a flawless finish.
2. Why is sanding necessary in the preparation of cabinets for respraying?
Sanding is crucial because it creates a textured surface that allows the paint to adhere better. The process involves starting with a 120-grit sandpaper to remove the old finish, then smoothing out the surface with a 220-grit sandpaper. A handheld sander can make this process more efficient, but it’s not a must.
3. What is the purpose of masking during kitchen cabinet prep?
Masking is used to protect areas that you do not want to paint. This often includes hinges, hardware, and sometimes glass inserts. It’s also recommended to cover surrounding kitchen surfaces and floors with drop cloths or newspapers to prevent overspray.
4. What type of spray paint should I use for my kitchen cabinets?
While it can be tempting to go for cheaper options, investing in high-quality spray paint is recommended. High-quality paint can provide a more professional and durable finish, ensuring your kitchen cabinets look their best for longer.
5. Can I respray my kitchen cabinets myself, or should I hire a professional?
With the right prep and a little patience, it’s certainly possible to respray your kitchen cabinets yourself. However, for the best results, especially if you’re new to spray painting, you might consider hiring a professional. They bring experience and a trained eye, ensuring a flawless finish that will stand the test of time.
Ready to Make a Start? We’re Here to Help!
Respraying your kitchen cabinets can indeed breathe new life into your kitchen. While this step-by-step guide provides a roadmap for the DIY enthusiast, we understand that the task might seem daunting, especially if you’re new to the world of spray painting. The process requires careful preparation, the right materials, and a good amount of patience to achieve the perfect finish.
So, why not let the experts take over? At K Wyatt Decorators, we bring a wealth of experience and professional knowledge to your project, ensuring a seamless process and a beautiful result. Our team specialises in kitchen cabinet respraying, guaranteeing a finish that will transform your kitchen into a place of beauty and comfort.
Feel free to reach out to us today. Whether you’re looking for advice, a quote, or ready to bring a professional touch to your kitchen cabinets, we’re just a phone call or a message away. Let us help you make your kitchen the heart of your home.