
The Ultimate Kitchen Spraying Checklist for Summer
The Ultimate Kitchen Spraying Checklist for Summer
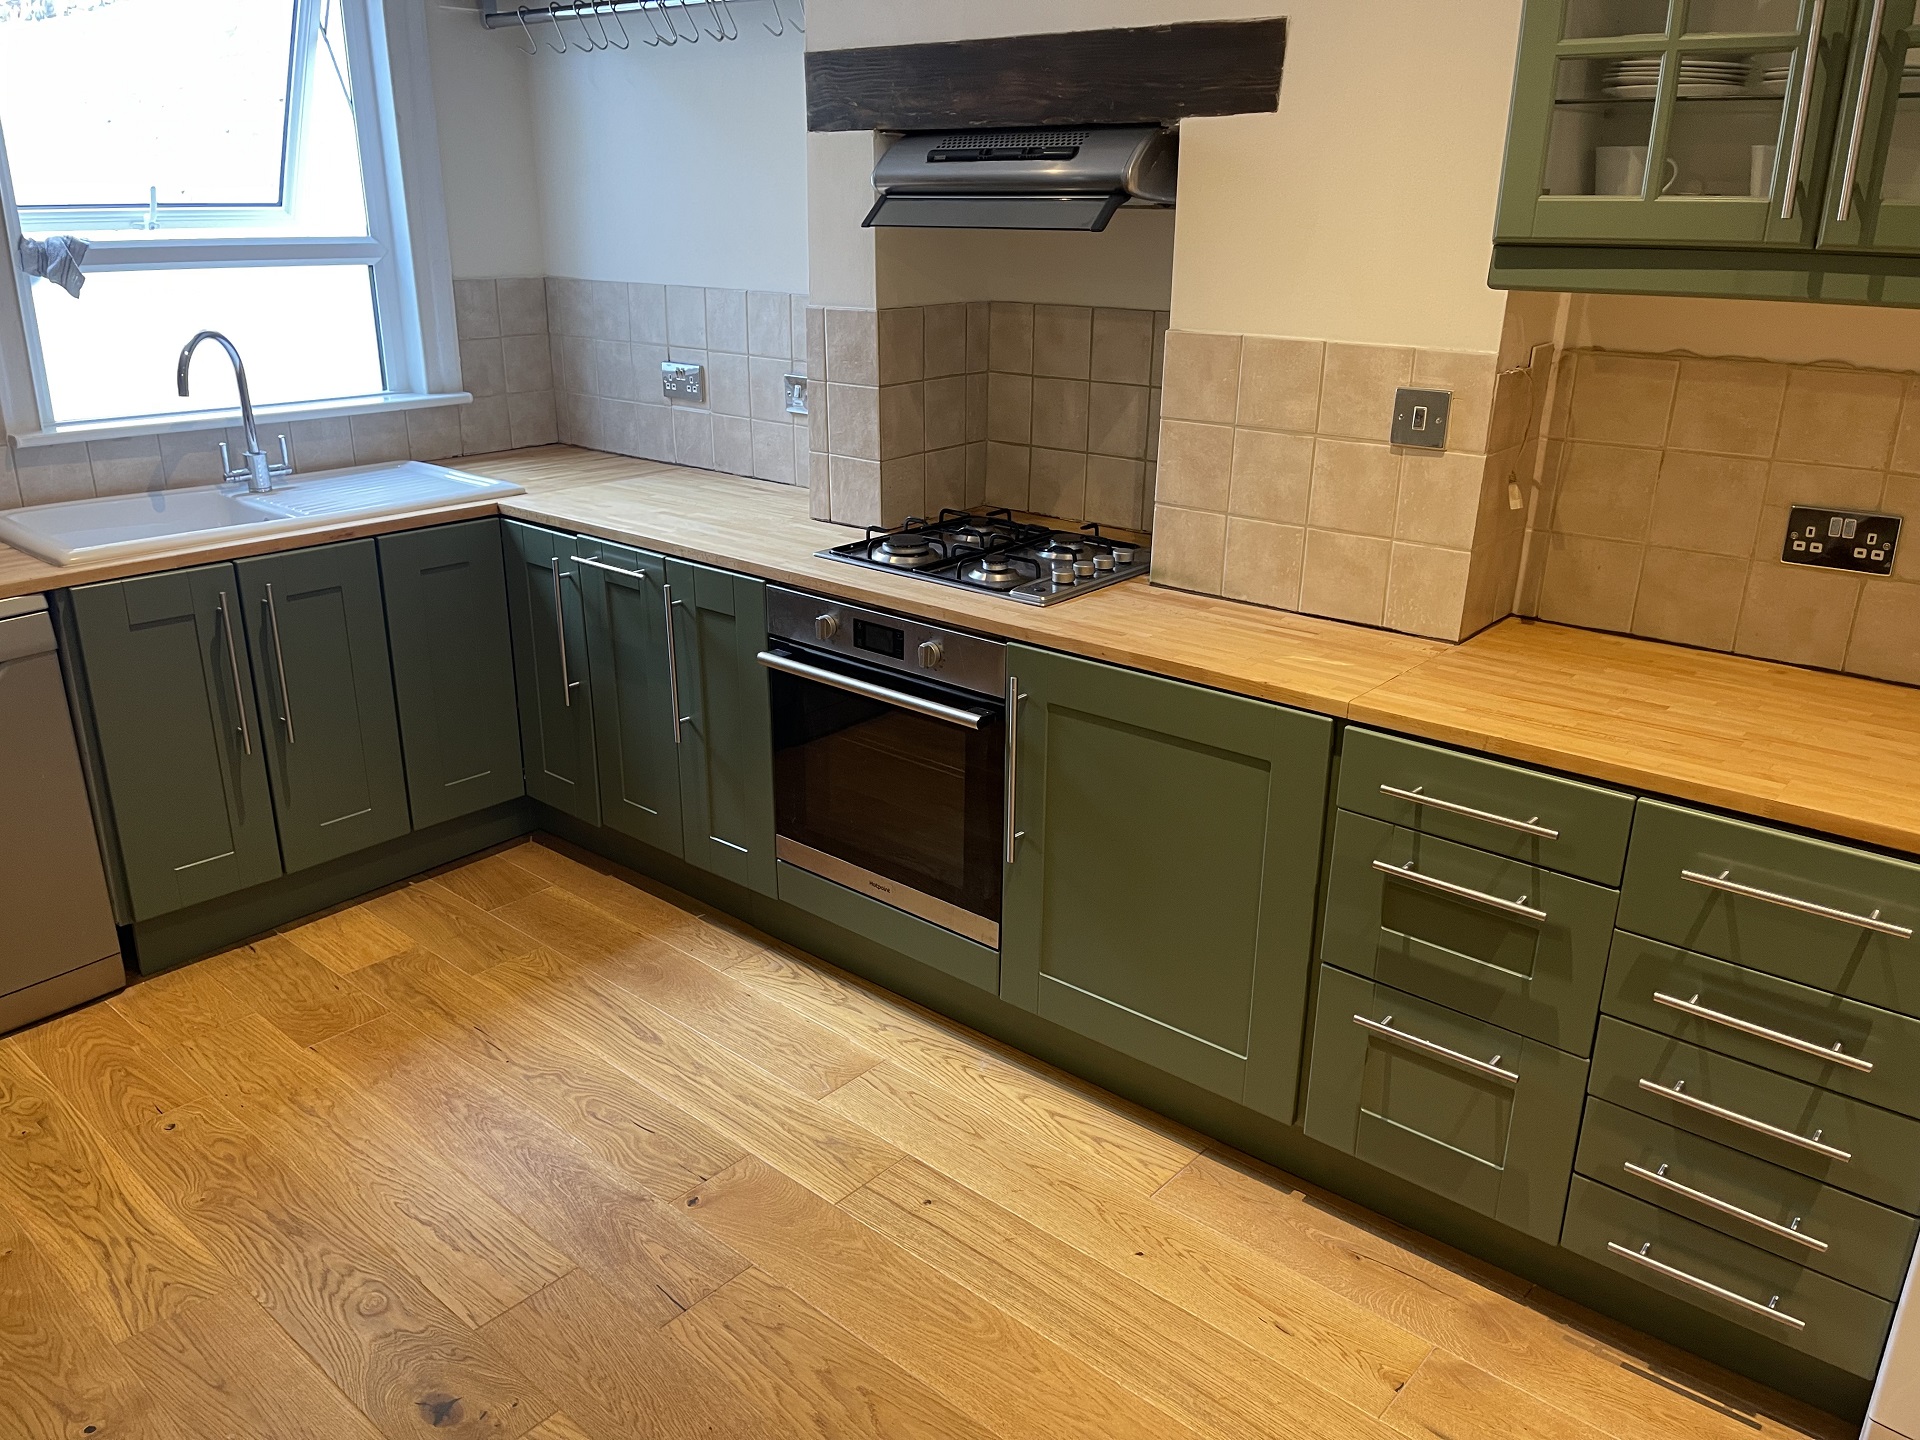
Summer is a fantastic time to refresh your home’s look, and what better place to start than the kitchen? The heart of your home often sees the most action and can wear over time. Spraying your kitchen cabinets offers an ideal way to rejuvenate this pivotal area without breaking the bank. Tailored for the beautiful homes in Knightsbridge, refreshing your kitchen space can not only uplift your home’s atmosphere but also add to its overall appeal.
Creating a flawless finish in your kitchen isn’t just about the act of spraying; it involves careful planning and preparation. That’s why having a clear checklist can guide you through this transformative process, ensuring you achieve professional, long-lasting results. From assessing the initial state of your cabinets to selecting the right materials, this checklist will help you navigate every step with confidence.
Assessing the Kitchen
Before starting a kitchen spraying project, begin by assessing the current state of your kitchen cabinets. This step lays the foundation for everything that follows and ensures you’re not met with any surprising hurdles.
– Evaluate Current Condition: Look over your cabinets thoroughly. Identify any visible damage like scratches or dents that could affect the finish. It’s crucial to know if these areas might need filling or additional repair work before you begin spraying.
– Identify Areas Needing Repair or Replacement: Some spots might be beyond simple cosmetic fixes. Consider if any cabinet parts need replacing entirely due to severe wear. A little extra effort now can prevent headaches later.
– Consider Additional Elements: Think about other elements in the kitchen that could benefit from a fresh spray. This includes doors, trim, or even any furniture that could bring uniformity and cohesion to the overall look.
A thorough assessment will highlight the specific needs of your kitchen, allowing you to move forward with a clear understanding of what exactly needs doing to accomplish your desired result.
Choosing the Right Materials
Selecting the materials you’ll need is a key component to ensuring a top-notch finish. The quality of the paint and tools you use can significantly influence how your cabinets end up looking. So, what should you be on the lookout for?
– Paint Types: Use paints that are specifically designed for kitchen environments. These paints typically withstand moisture and frequent use. Consider durable finishes like semi-gloss or satin, which are easier to clean and maintain.
– Materials and Tools: You’ll need more than just paint. Make sure you have primer, painter’s tape, high-quality brushes, rollers, or a sprayer. Each tool serves its purpose in creating that smooth, professional finish.
– Emphasise Quality: Don’t skimp on materials. High-quality paint and tools might cost a bit more upfront, but they pay off significantly in durability and appearance. A good finish will last longer, saving you time and money in the long run.
Making informed choices about materials ensures your kitchen will look fresh and inviting, maintaining its beauty well beyond the summer season.
Preparing the Kitchen
Preparation is where you set the stage for successful kitchen spraying. Proper preparation means your paint will adhere smoothly and evenly, creating a finish that’s beautiful and durable. Here are essential steps to get your kitchen ready:
1. Clean and Clear: Remove items like dishes and food from the kitchen to avoid accidents. Clean all surfaces with a degreasing cleaner to ensure the paint sticks well.
2. Remove Cabinet Hardware: Take off handles, knobs, and hinges before spraying. This ensures a neat finish and prevents paint from getting on these elements.
3. Protect Surroundings: Use painter’s tape and drop cloths to shield areas you don’t want to paint, like the insides of cabinets, countertops, and appliances.
4. Sand and Repair: Lightly sand the surfaces to smooth out imperfections and provide a good base for the primer. Fill any minor dents or scratches to create an even surface.
5. Prime the Surface: Apply a primer suited for the type of surface you’re painting. It ensures better paint adhesion and coverage.
Taking these steps will provide a perfect canvas for your kitchen spraying job, ensuring the new finish looks as polished and professional as possible.
Hiring a Professional Kitchen Painter
When aiming for the best possible outcome, sometimes it’s wise to leave it to the professionals. Hiring a kitchen painter provides peace of mind, ensuring expert-level craftsmanship and efficiency. But what makes this a smart decision?
A local kitchen painter in London comes armed with experience and expertise. They bring valuable knowledge about the latest techniques and materials, ensuring that the job is done right the first time. Professional painters understand the nuances of handling paint for kitchen environments, where humidity and temperature variations can affect longevity and appearance.
Finding a reliable professional can be straightforward. Start by asking for recommendations from friends or neighbours who’ve had similar work done. You can also explore online reviews and testimonials to guide your choice. Once you’ve shortlisted potential candidates, obtain detailed quotes and ask about the specific services they offer.
Expect impeccable attention to detail during the process. Professionals don’t just apply paint; they ensure thorough preparation, top-notch material selection, and a flawless finish. They carefully replace all removed hardware and ensure your kitchen returns to normal, beautifully transformed and ready for use.
Finishing Touches
With the main painting done, focus on the finishing touches. This phase is about reinstating and refining your kitchen to its best possible state.
1. Reinstall Hardware: Carefully reattach all cabinet hardware, ensuring everything fits perfectly and functions smoothly. This step alone can enhance the overall appearance of the cabinets.
2. Maintenance Tips: Keep your newly sprayed cabinets looking fresh through simple, regular cleaning with non-abrasive cleansers. This helps maintain their look and extends their life.
3. Complementary Updates: Consider small tweaks like new handles or light fixtures to complement the refreshed look. These elements can tie together the aesthetics, giving your kitchen a truly coordinated finish.
These final adjustments amplify the transformation, ensuring your kitchen doesn’t just look newly painted but feels revitalised and harmonious.
Create Your Dream Kitchen
The journey to a stunning kitchen in Knightsbridge starts with a careful plan and the right tools. This checklist has walked you through each critical step, ensuring your cabinets receive the care and attention they deserve.
By following each step, your kitchen transformation will unfold smoothly, resulting in a space that’s inviting and seamless. Whether it’s appreciating the value of professional assistance or delighting in the finishing details, keeping this guide ensures your kitchen spraying project turns out superbly. As you stand back and admire your revitalised kitchen, the enduring beauty and freshness will be a testament to your thoughtful efforts.
Transforming your kitchen into an inviting space might seem like a daunting task, but with the right guidance and expertise, it becomes a rewarding venture. If you’re looking for an expert touch, consider working with a skilled kitchen painter in London to bring your dream kitchen to life. Reach out to K Wyatt Decorators to explore how our professional services can enhance your kitchen’s aesthetic and functionality.